In this tutorial, you will create a realistic looking glass board in Photoshop using various layer styles.
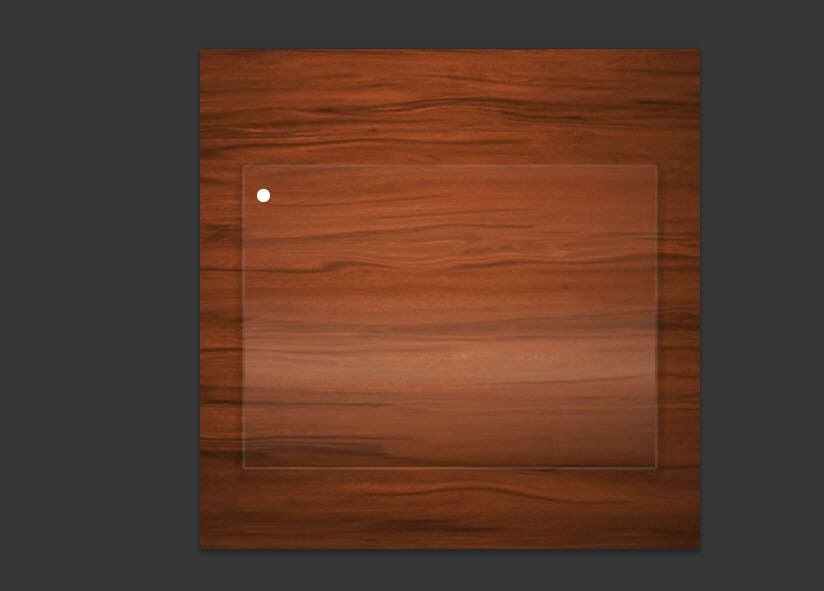
Figure 1 shows the final output .
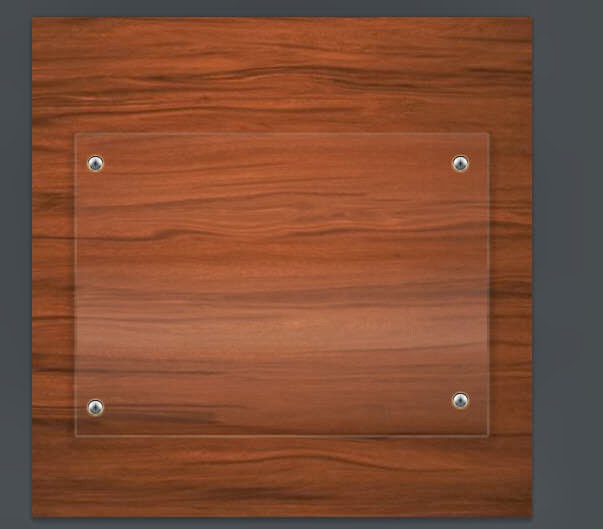 |
| Figure 1 |
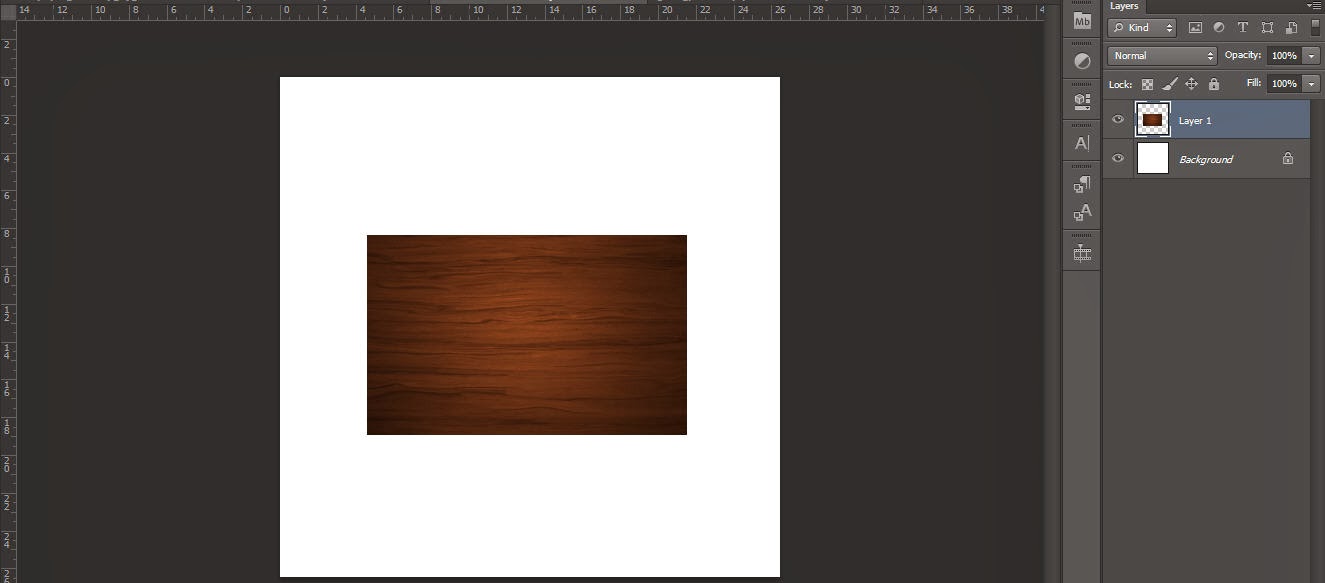
1. Create a new file in Photoshop. Next, open a texture of wood of your choice and then drag the wood texture image to the new file using Move Tool; a new layer with the name Layer 1 is added in the Layers panel, refer to Figure 2.
 |
| Figure 2 |
2. Make sure Layer 1 is selected in the Layers panel and then press CTRL+T. Scale uniformly, as shown in Figure 3. Now, rename the Layer 1 to wood.
 |
| Figure 3 |
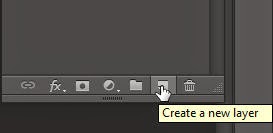
3. Choose the Create a new layer button located at the bottom of the Layers panel, as shown in Figure 4 ; a new layer is created with the name Layer 2 in the Layers panel. Rename Layer 2 to glass.
 |
| Figure 4 |
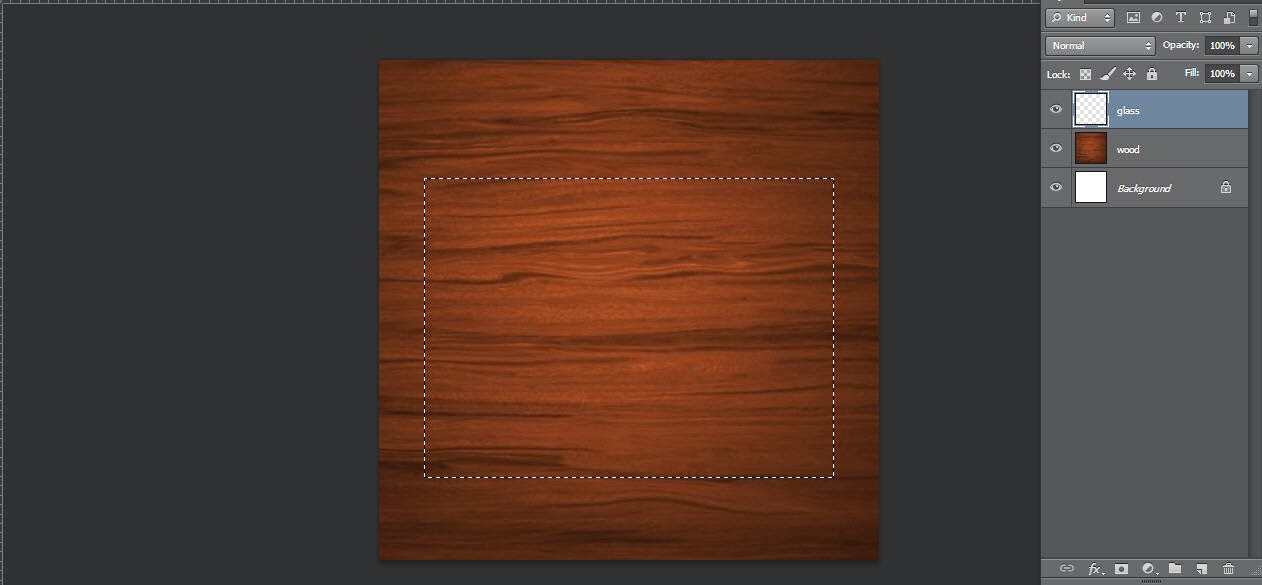
4. Make sure glass is selected in the Layers panel.
5. Next, create a rectangle using the Rectangular Marquee Tool from the Tool palette, as shown in Figure 5.
 |
| Figure 5 |
6. Choose the Set foreground color from the Tool Palette; the Color Picker (Foreground Color) dialog box is displayed. Next, pick the wood color from the image and press the OK button and close the dialog box. Now, press ALT+BACKSPACE to fill the rectangle area, as shown in Figure 6.
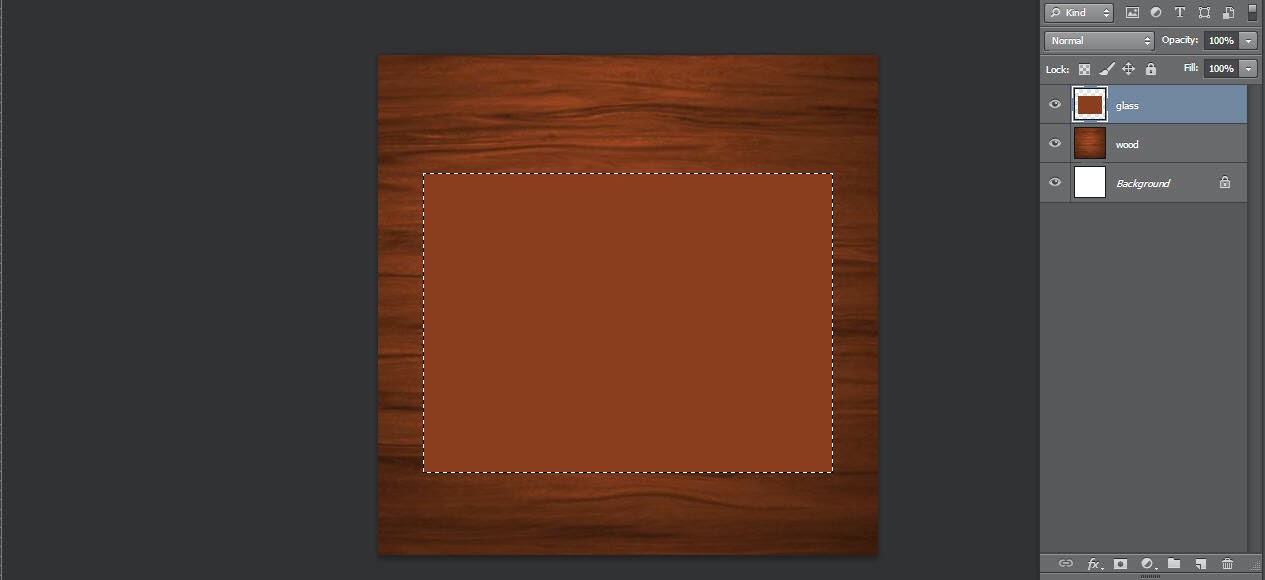 |
| Figure 6 |
7. Make sure the glass layer is selected in the Layers panel. Next, choose the Add a layer style button; a flyout is displayed. Choose Blending Options from the flyout; the Layer Style dialog box is displayed.
8. In the Layer Style dialog box, select the Bevel and Emboss label located at the left side of the Blending Option: Default pane; the properties of Bevel and Emboss are displayed in the right pane.
9. In the Bevel and Emboss area, set the following parameters:
Depth: 1 Size: 40 Soften: 2
10. Select Rolling Slop-Descending from the Gloss Contour drop-down list.Next, enter 90 in the Opacity edit box located below the Highlight Mode drop-down list. Now, enter 45 in the Opacity edit box located below the Shadow Mode drop-down list.
11. In the Layer Style dialog box, select the Stroke label; the properties of Stroke are displayed. Enter 24 in the Opacity edit box located below the Blend Mode drop-down list. Choose the Color swatch located below the Fill Type drop-down list and set to sky blue color. In the Structure area, enter 5 in the Size edit box.
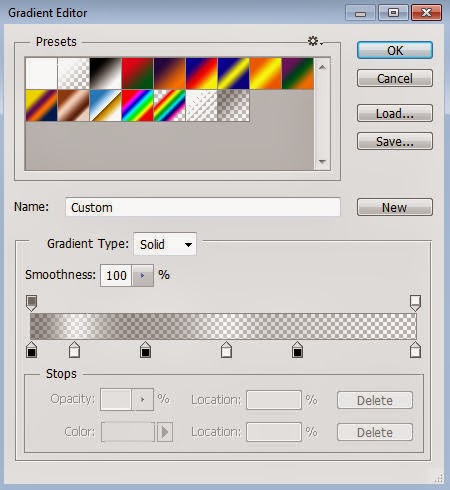
12. In the Layer Style dialog box, select the Gradiant label located at the left side of the Blending Option: Default pane; the properties of Gradient are displayed in the right pane. Now, click on the Gradient edit box; the Gradient Editor dialog box is displayed. In this dialog box, select the Neutral Density color swatch from the Presets area and then add the Color Stop with black and white color, as shown in Figure 7. Choose OK button to close the dialog box. Set Opacity to 90.
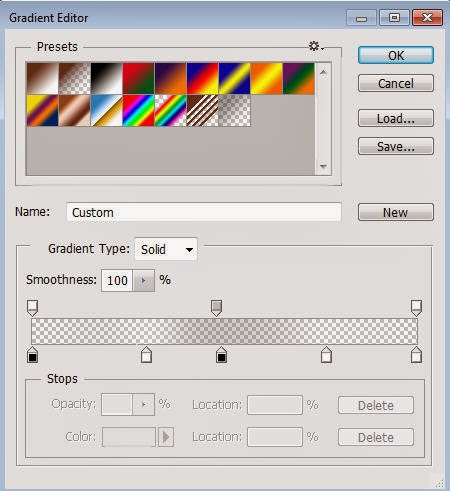 |
| Figure 7 |
13. In the Layer Style dialog box, select the Drop Shadow label; the properties are displayed. Set the following parameters:
Opacity: 35 Angle: 90 Distance: 13 Spread: 62 Size: 27
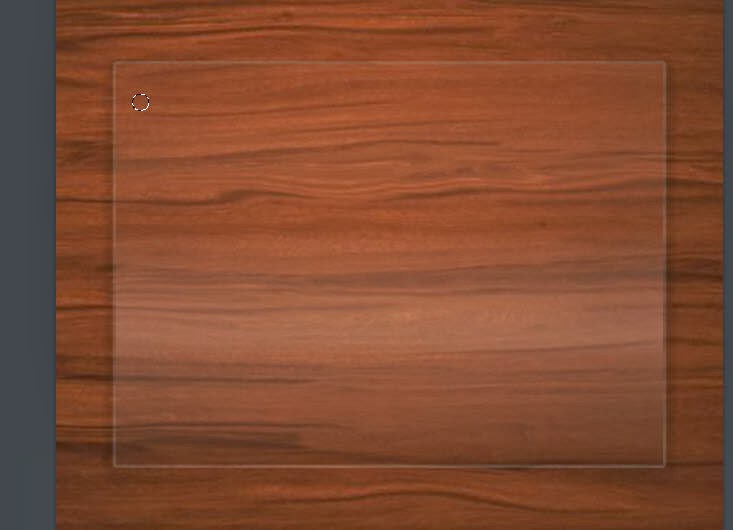
Choose the OK button to close the dialog box. Figure 8 displays the output of the glass. CTRL+D to cancel the selection area.
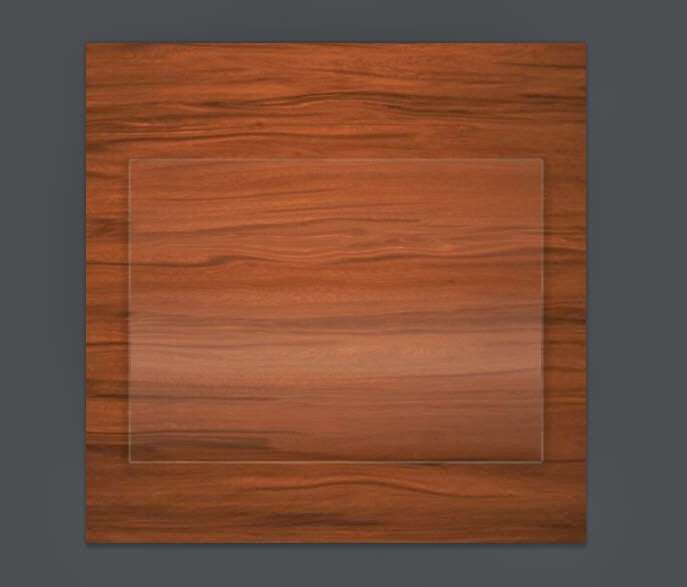 |
| Figure 8 |
Next, you will create a nail.
14. Create a circle using Elliptical Marquee Tool in new layer and rename it to nail, as shown in Figure 9 Next, fill the white color in the circle area, refer to Figure 10.
 |
| Figure 9 |
 |
| Figure 10 |
15. Make sure the nail layer is selected in the Layers panel. Next, choose the Add a layer style button; a flyout is displayed. Choose Blending Options from the flyout; the Layer Style dialog box is displayed.
16. In the Layer Style dialog box, select the Bevel and Emboss label located at the left side of the Blending Option: Default pane; the properties of Bevel and Emboss are displayed in the right pane.
17. In the Structure area, set the following parameters:
Style: Pillow Emboss Depth: 704 Size: 6 Soften: 6
18. In the Shading area, select Ring - Double from the Gloss Contour drop-down list. .Next, enter 100 in the Opacity edit box located below the Highlight Mode drop-down list. Now, enter 92 in the Opacity edit box located below the Shadow Mode drop-down list. After entering the value the output of the nail shows in Figure 11.
 |
| Figure 11 |
19. Select the Inner Glow check box from the left pane of the Layer Style dialog box.
20. In the Layer Style dialog box, select the Gradiant label located at the left side of the Blending Option: Default pane; the properties of Gradient are displayed in the right pane. Select Subtract in the Blend Mode drop-down list. Next, click on the Gradient edit box; the Gradient Editor dialog box is displayed. In this dialog box, select the Neutral Density color swatch from the Presets area and then add the Color Stop with black and white color, as shown in Figure 12. Choose OK button to close the dialog box. Set Opacity to 90. Set Angle and Scale to 180 and 31.
 |
| Figure 12 |
21. Select the
Outer Glow check box from the left pane of the
Layer Style dialog box.
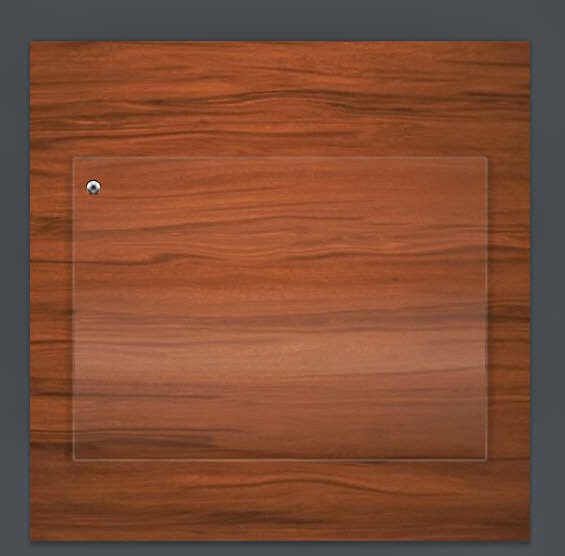
22. Create the three copies of the nail layer and rename it to nail 1, nail 2, and nail 3. Align nail, nail 1, nail 2, nail3 at the corners of the glass. Figure 13 shows the final output.


